Editing the Seating Chart
This is a continuation of the Setup page.
This page contains instructions on how to edit the Seating Chart itself. The Chart Editor is only visible to groups and users marked as Global Editors in the Confluence Administration. See this page for more details.
Overview
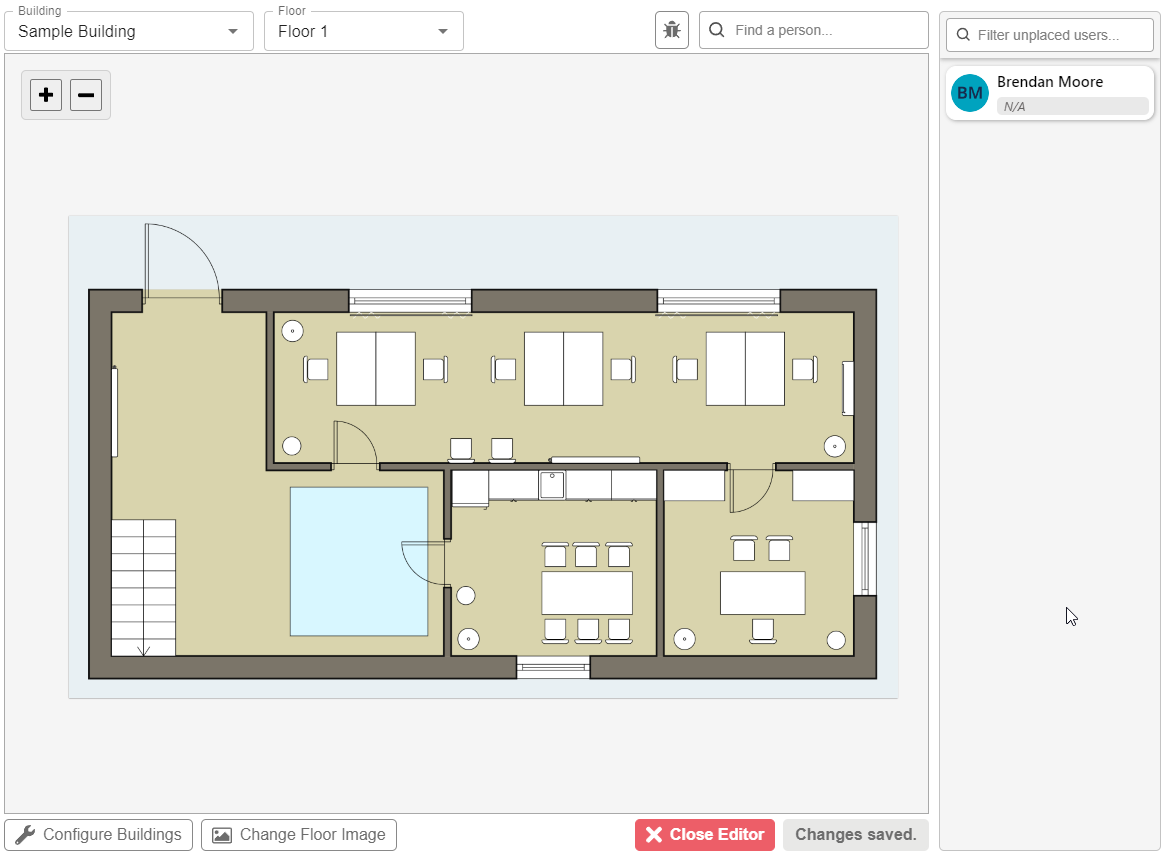
To access the editor, click the Edit button.  You page should now look something like
this:
You page should now look something like
this:
Managing Floors and Buildings
Using the Building Configuration Menu you can add, delete, reorder, and rename floors and buildings. You can create as many floors and buildings as you like, which you will be able to drag users onto via the sidebar.
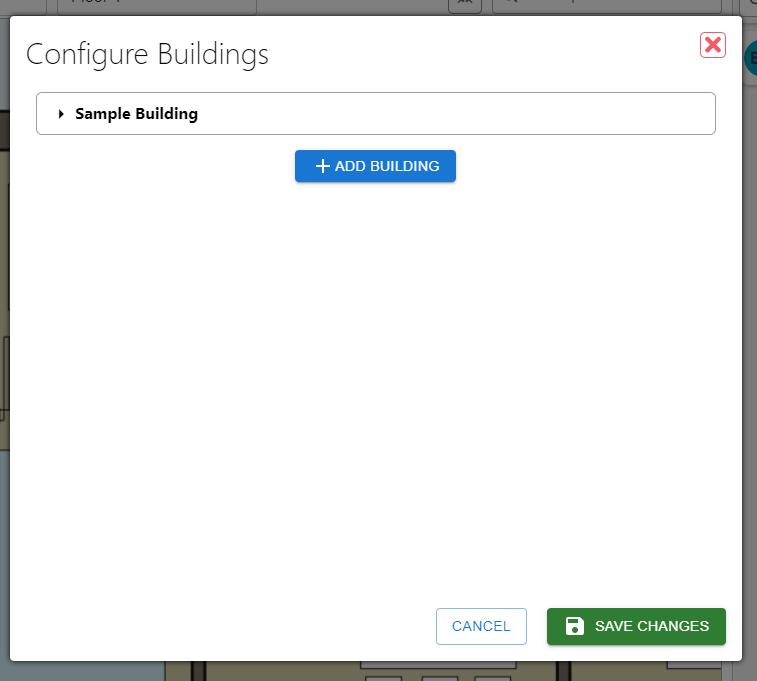
Click the Configure Buildings button to open the menu.  You should see a menu like the one below:
Rename and Delete
To expand the building to show floors, click the  to the left of the building name. You
should now see the full contents of the building. Hovering over floors and buildings will reveal
more buttons that will let you configure aspects of the floor/building.
to the left of the building name. You
should now see the full contents of the building. Hovering over floors and buildings will reveal
more buttons that will let you configure aspects of the floor/building.

 - Lets you
rename the floor or building you are hovering over.
- Lets you
rename the floor or building you are hovering over.  - Lets you
delete the floor or building you are hovering over.
- Lets you
delete the floor or building you are hovering over.
Changing Floor Backgrounds
The floor background can be changed in two ways. Either via the Change Image button
(mentioned previously) or by clicking the Change Floor Image button on the bottom
bar (changes the background of the current floor).

This will open the Change Floor Image Menu. From here, you will be able to upload a new
image to used as the background for the floor you selected.

Warning
Using background images smaller than 1000x1000 pixels are not recommended. Smaller images give you less space to place users.
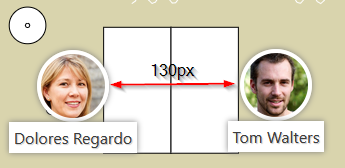
The background you upload should have enough space between desks so users can be placed without
overlapping. Ideally, there should at least 100x100px of space between desks.
Placing Users
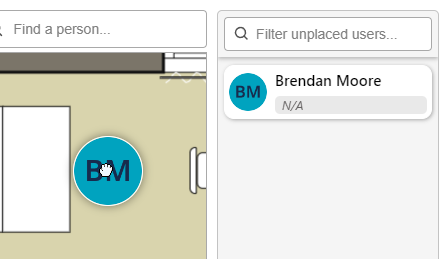
To place a user from the sidebar, simply click and drag them onto the chart.
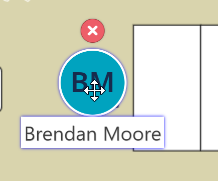
Moving and Deleting Users
Moving a user is also easy. Clicking and dragging the users on the chart will let you move them wherever you please.
Proceed to Managing Data for any overview on data controls.